1. Create a your list in Mailchimp Dashboard. Select your fields that you want to put in your Optin
2. Create a form in your website dashboard: MailChimp for WP > Forms
If you have installed the demo you should have this form:
<p>

<input type="text" name="NAME" placeholder="Your name" required />
</p>

<p>

<input type="email" name="EMAIL" placeholder="Your email address" required />

</p>

<p>

<input type="submit" value="Sign up"  />

</p>
3. You can add your own fields to match the one in your Mailchimp list by clicking on the different buttons under ‘Choose a field to add to the form‘
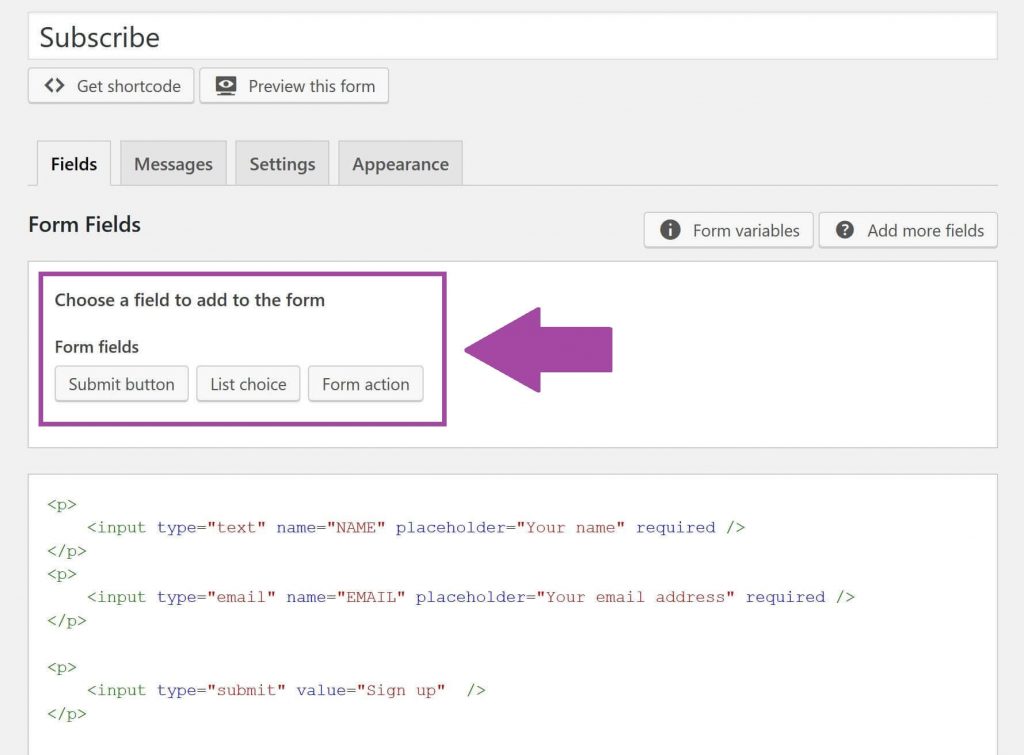
4. To change what is written in the box of the field manually change the text between ” ” after placeholder=
To change the text in the button manually change the text between ” ” after value=
5. Setup the different options in the tabs Message and Settings to control the behaviour of your opt-in once someone have submitted their info.
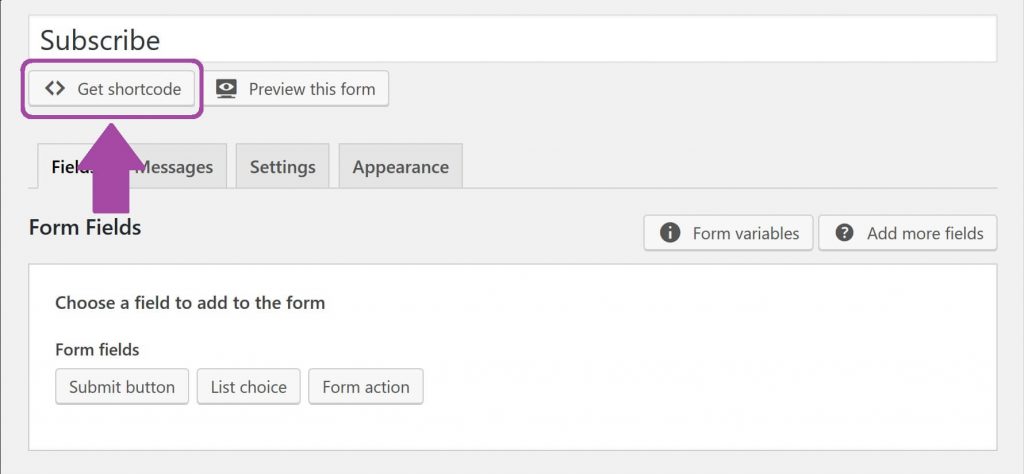
6. Use the shortcode: insert the shortcode given on the top of the screen in the form field in the Customizer (for example: Theme > Optin Options > Optin Form)
Here is the official documentation for the plugin MailChimp for WP: Set up the form.
For more information, here is the Mailchimp for WP knowledge base.